How to Head Cleaning on a Good and Correct Printer
 |
| How to Head Cleaning on a Good and Correct Printer |
Pakdhebengal.com– Printers have become a basic necessity for printing important documents needed, such as office, business/entrepreneurial matters to school needs. Most of those who use printers only know how to 'use' the printer and few people know how to maintain it. As is the case when there is a problem with intermittent printer printouts, or color/black ink does not come out, it will definitely do head cleaning. What's the right way?
This time we will provide information and tips on how to do head cleaning on the printer correctly? Because correctly in doing head cleaning will prevent damage to the printer, especially on the head. Please note that the price of the printer head can even be half the price of the printer.
- Also read our previous articles: Free Download Epson Ecotank L6270 Printer Driver | Epson Ecotank L6270 Full Driver Dan Software
Where is the Printer Head located?
The head on the printer can usually be located under the cartridge which we know that this cartridge plays an important role in printing. The function and task of this cleaning head is to remove the ink to the paper to make the desired printout.
- Click the Windows icon
- Select Devices and Printers
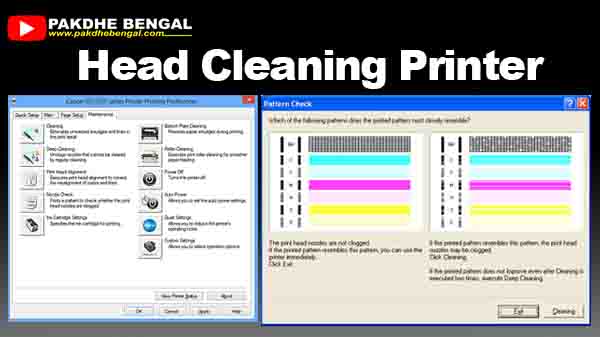
- Right click then > Select Printer Preference (Make sure the Driver is installed correctly)
- Then select Maintenance or Maintenance > select Head Cleaning
- Cleaning: is a lighter ink cleaning (recommended before heading to head cleaning)
- Head Cleaning: deeper or stronger cleaner for cleaning (draining ink)
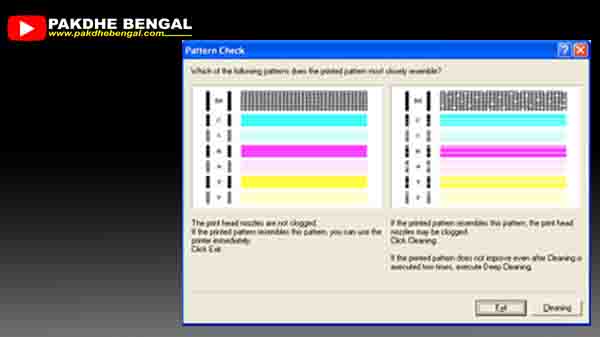
- Nozzle Check: checking the current print condition or checking the condition of each color whether it is normal or not.
When doing Cleaning / Deep Cleaning / Head Cleaning and the process is complete or after printing the Nozzle Check you have to give a gap of about 10-15 minutes. This is to avoid the heat of the cartridge so that it also remains durable.


Post a Comment for "Here's How To Do Head Cleaning Printer"